


Git has a solution to all of our problems, you just need to know where to look. As developers, context switching is a part of the job that you need to account for in more than a few occasions.
Problem Statement
Imagine this; you are working on a feature where you have made bunch of changes to files that are not yet commited, and suddenly you need to work on a hot fix or a more priority feature. There are two ways you can tackle this:
- Using Git Stash workflow
- Using Git Worktree (You are here! 📍)
Git worktree to the rescue 🌳
Git worktree helps you manage multiple working trees attached to the same repository.
In short, you can check out multiple branches at the same time by maintaining multiple clones of the same repository.
OK back to our problem! Update changes? New Feature? Hot Fix? Whatever it is, you need to change to a different branch and work on it without any changes to your current work directory.
Let’s say it’s a new feature, your workflow would look like this:
- create an replica of your project and switch to a new branch
- create a new feature
- push it
- back to previous working directory
Create worktree
Let’s say the name of your feature is feature-x and you want the branch with the same name. You can create additional worktree on the same directory or move it to a desired path, I prefer the later.
git worktree add command creates a worktree along with a branch that is named after the final word in your path.
git worktree add <PATH>

# Create feature-x directory and branch with the same name.
git worktree add ../feature-x

Named Branch
If you want to give you branch a unique name then you can use the -b flag with the add command.
git worktree add -b feature-xyz ../feature-xyz

Track remote branch
Let’s say you want to switch to a new branch that is tracking the branch at remote, where you want to push changes to.
git worktree add -b <branch-name> <PATH> <remote>/<branch-name>

git worktree add -b feature-zzz ../feature-x origin/feature-zzz
View the list of worktrees with git worktree list
Switching Worktrees
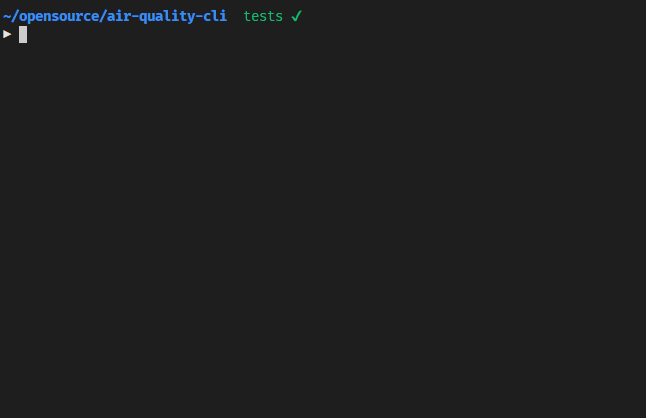
As much easy it is to create a worktree, it is equally difficult to navigate back and forth between them if they are spread across. You have to git worktree list and then copy the path navigate to the worktree of your choice. To minimize this friction, I have built a small tool that let’s you switch between worktrees just with their partial or complete directory name.
Download wt CLI tool for faster switching between worktrees.
With this I can simply switch between my worktrees.
 You can
 wt list which is equivalent to git worktree list to see the list of your worktrees. Now to move to feature-x worktree directory, I can just use wt feature-x to cd into that directory to continue with the work. To go back to my main worktree directory I can just wt -.
Remove Worktrees
 Now that you have created a new worktree, switched to it and made your changes and pushed it. To remove the worktree, we can run:
git worktree remove <name-of-worktree>

git worktree remove feature-x
Conclusion
Git worktree is a handy feature that let's you context switch in your project to try out things on a completely different environment, without modifying your main work directory. This might come handy occasionally but it's pretty neat being able to do so without breaking a sweat.
I hope this guide has been helpful, if you have any queries or corrections, feel free to reach out to me.