AWS Code Artifact for Private PyPI repository
Y
Backend Engineer 🚀 Cloud Native Enthusiast ☁
Search for a command to run...
Backend Engineer 🚀 Cloud Native Enthusiast ☁
No comments yet. Be the first to comment.
vLLM is a workhorse to run inference for any LLM under the sun. One of the recent developments in the project is the ability to define thinking_token_budget, basically a request level argument that ca
In a common workflow we create a virtual environment using different tools inside of the project directory. You might have venv, .venv, env and so on. I find it a bit cluttered. My approach is a bit d
Learn how to build your own powerful Large Language Model (LLM) application that can search the web, extract information, and answer your questions – all LOCALLY! In this tutorial, I'll walk you through the process of creating a web-searching LLM fro...

Large Language Models are great at generating code, but we need to go an extra mile to run them; well not any more. In this video, we will be building our application that can use both local and hosted large language models (Gemini, ChatGPT, and so o...

Having a private PyPI repository can be beneficial in many ways. We can host our internal private packages; from security perspective, it can be a controlled environment for public packages from where all the dependencies are installed in our project/product.
If your company is invested in AWS then it makes perfect sense to use AWS Code Artifact to host private packages, be it for Python, Node, Java or others.
Benefits of Code Artifact includes:
a private PyPI instance, where pip or other tools work the same as with the public instance. Just mention the vanilla package name and that's it. No more pip installgit+ssh , git+https or ./path-to-package.
secure infrastructure that you can fully control and define who can access what.
packages encrypted by default with AWS KMS key.
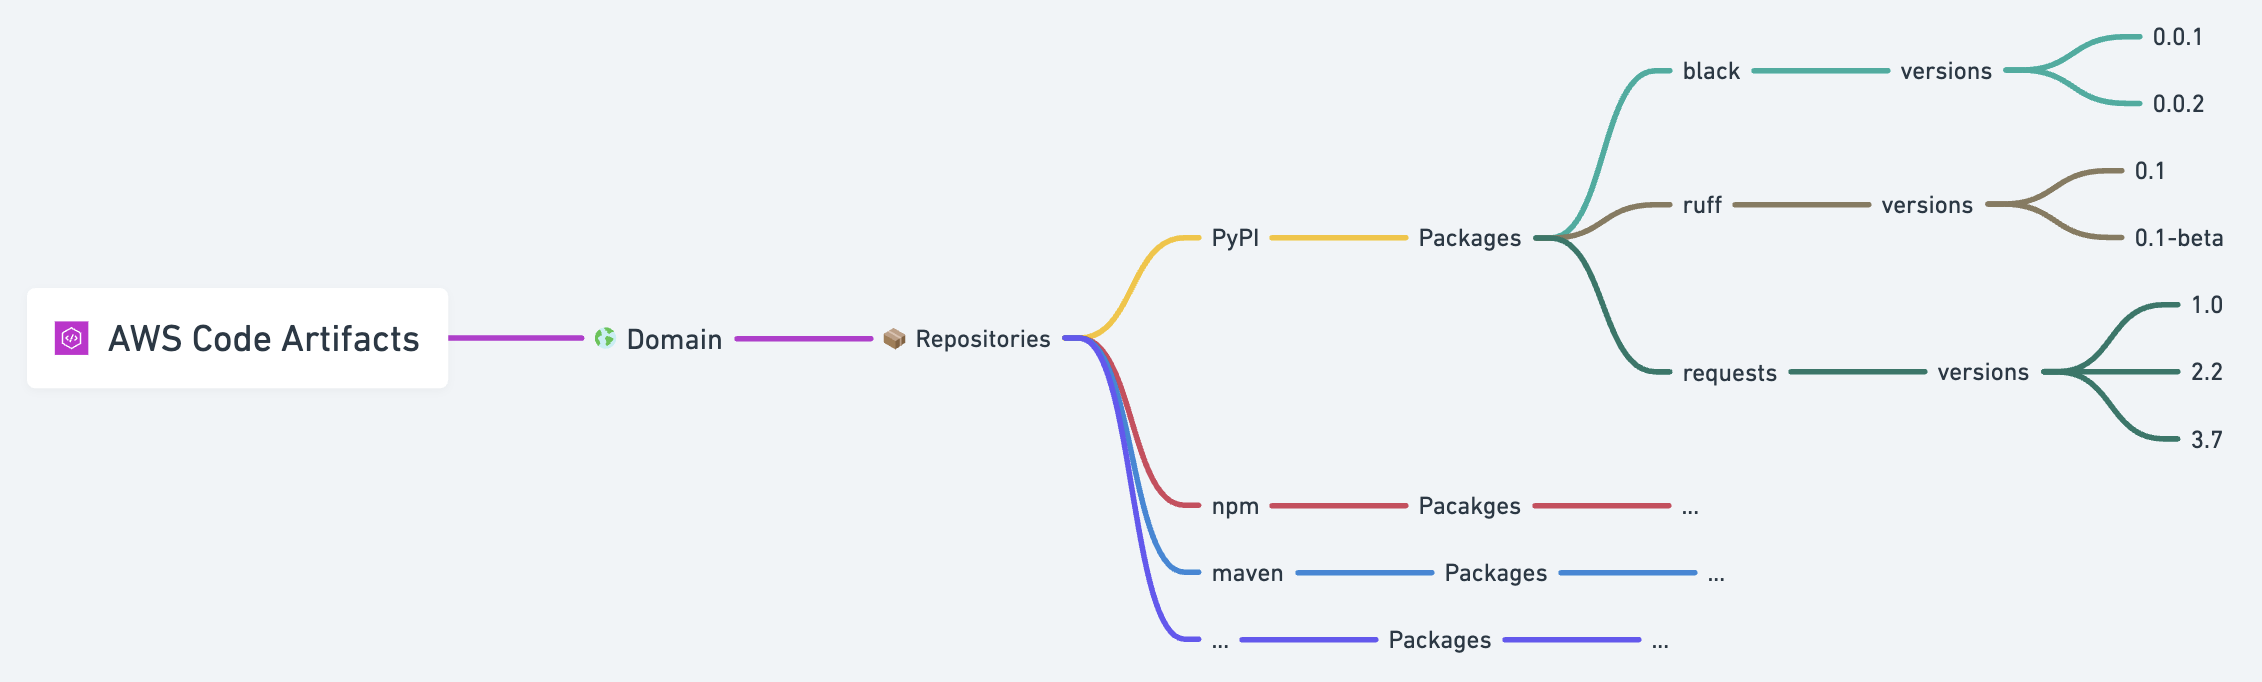
TLDR; you get a top-level construct called domain, under a domain you can have different repositories for same or different programming languages, each repository can store packages and their versions.
In AWS Code Artifact, domains are the namespace where you can host package repositories (PyPI, npm, maven). This is similar to creating domain name for website. Whatever name you put for your domain will be part of the URL that pip or other related tools will call for managing the packages.
Go to Code Artifact and under Artifacts select Domains.
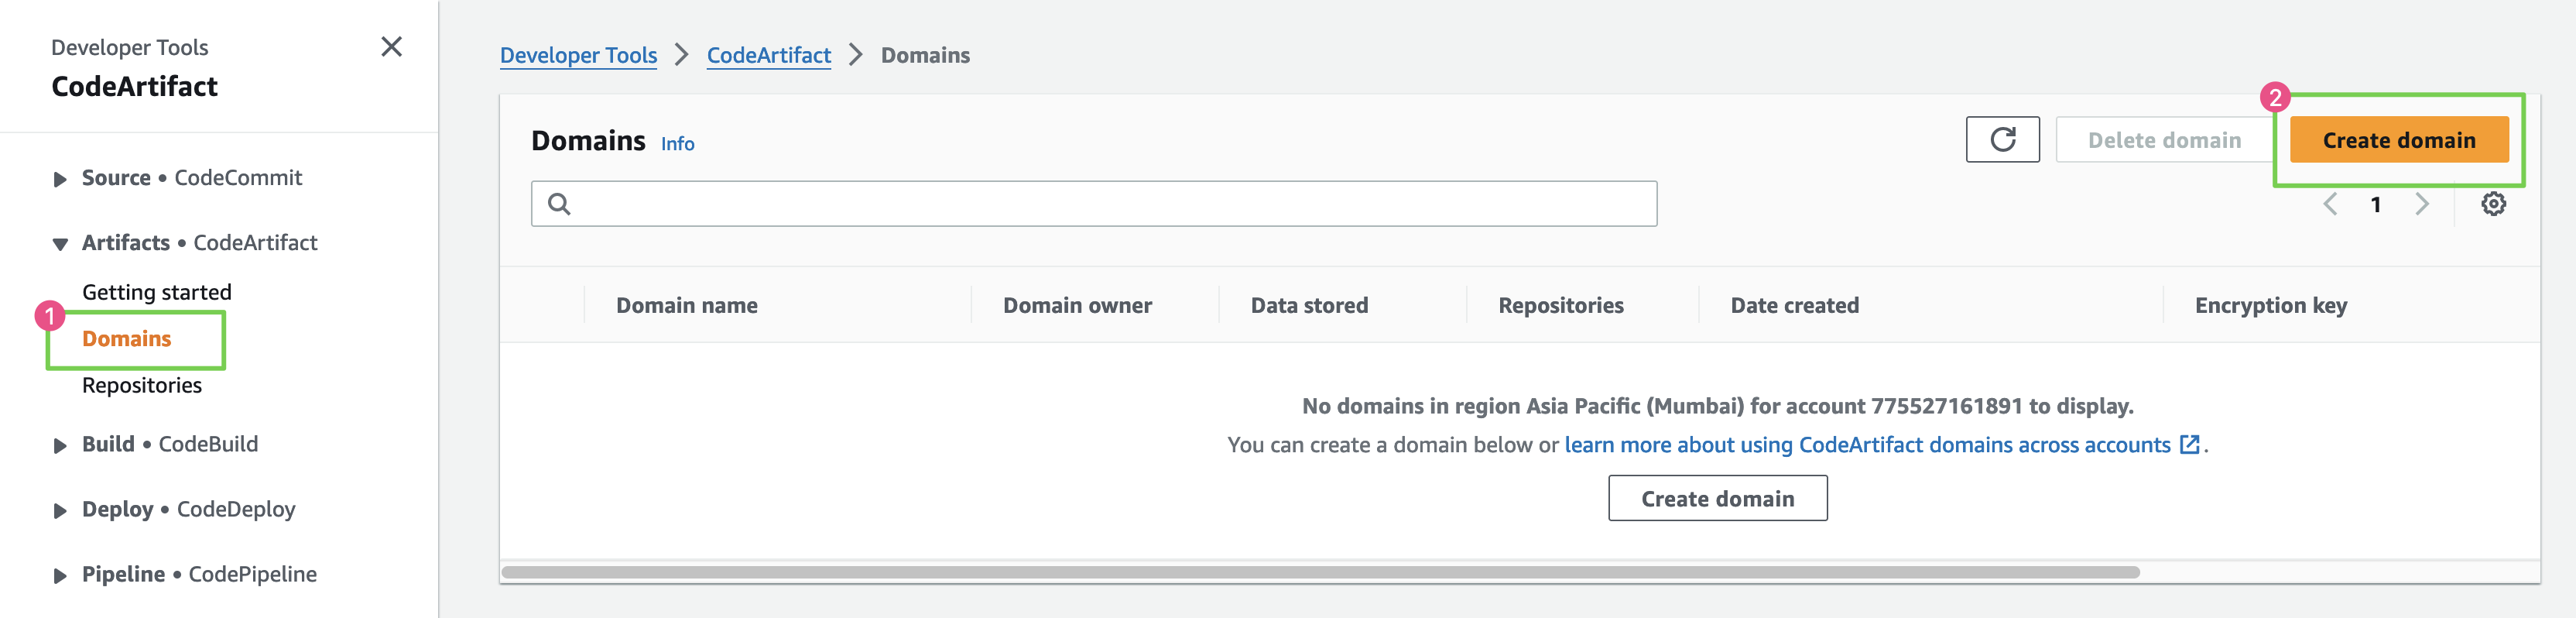
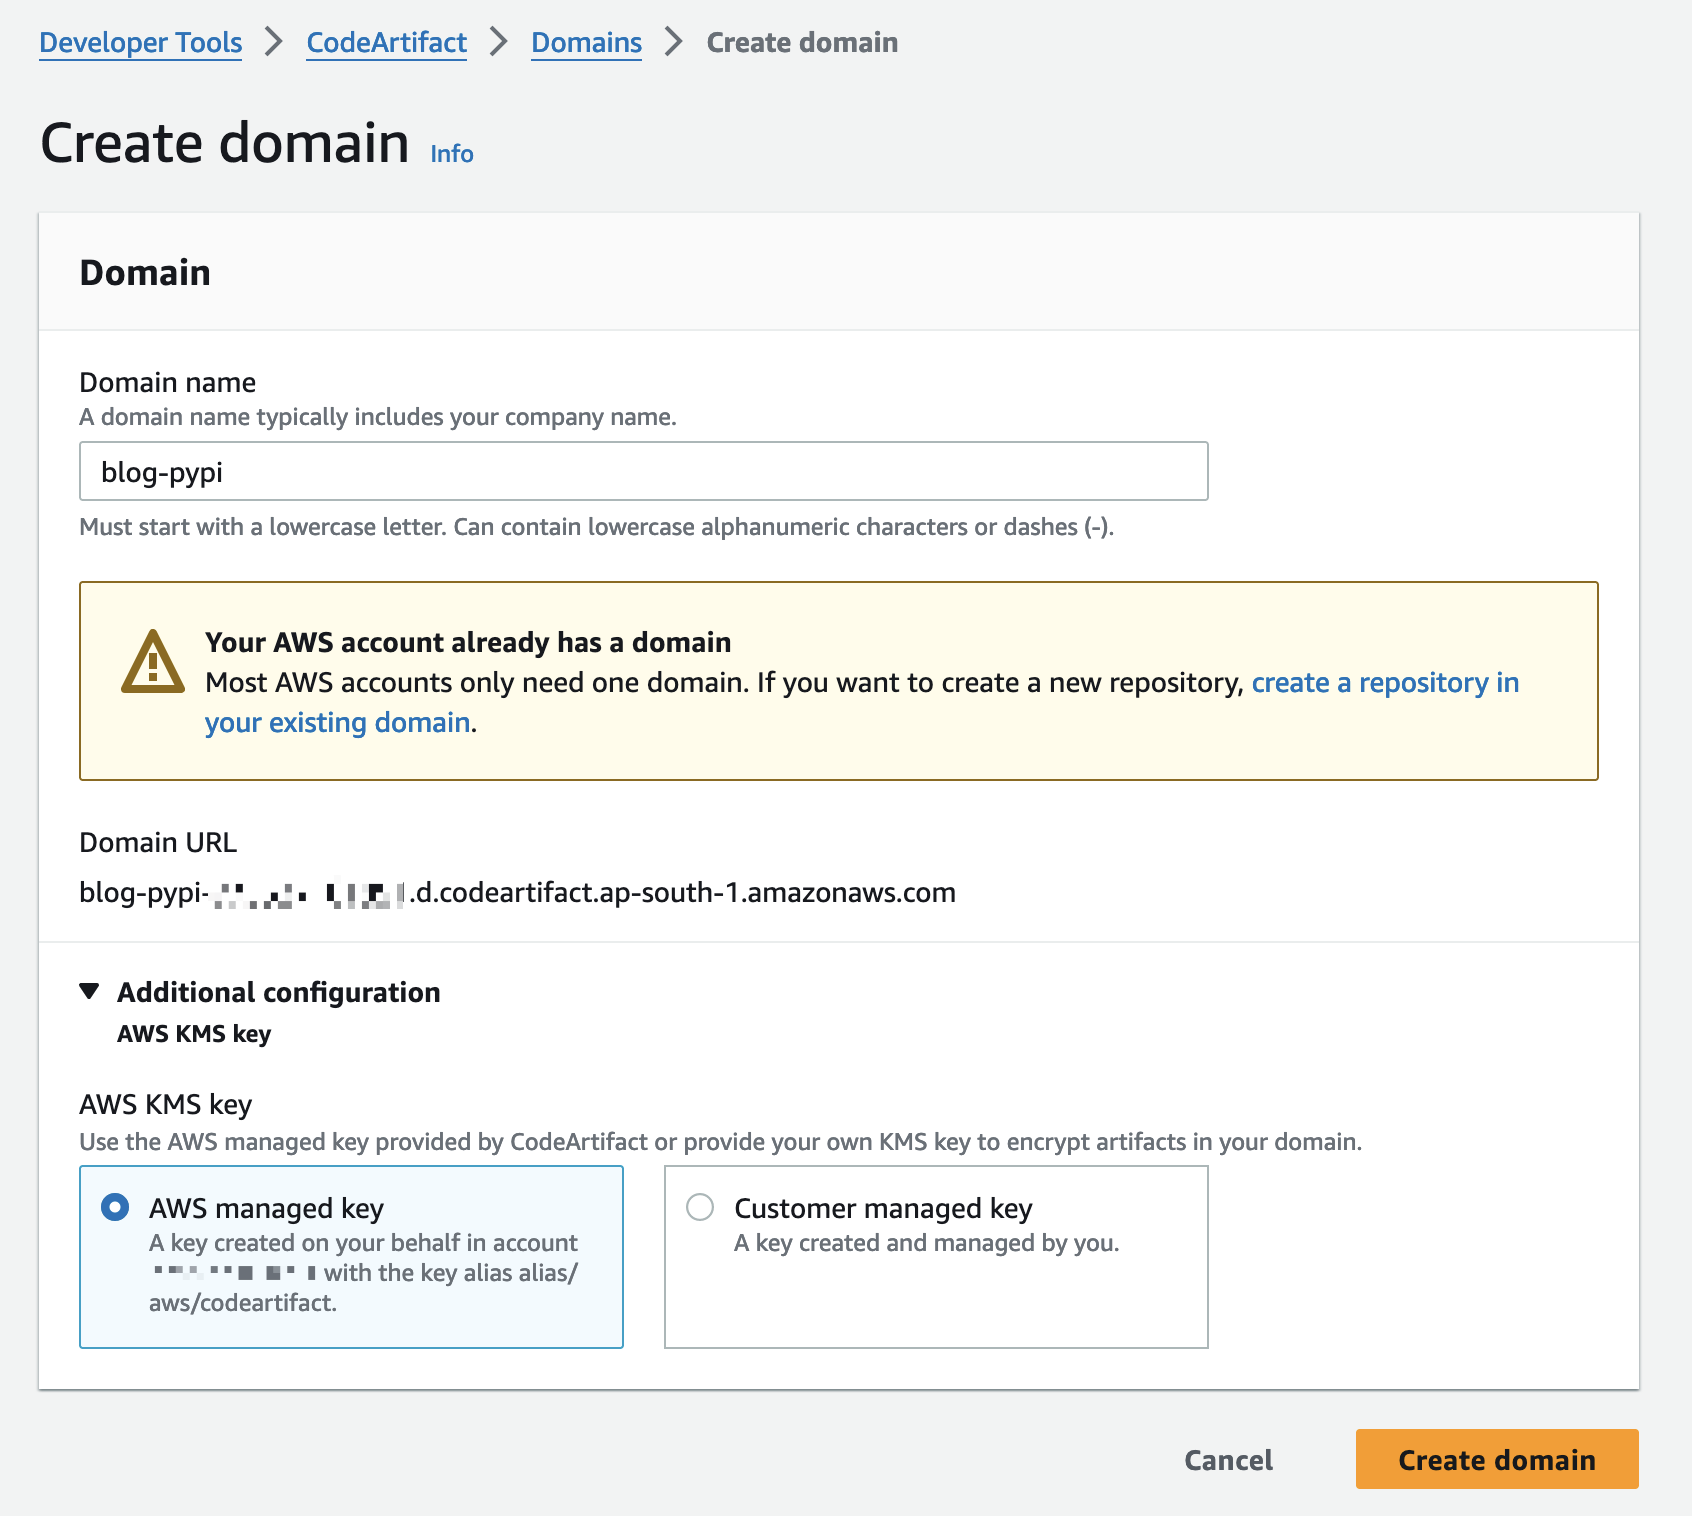
Then add a domain name and select Create Domain.
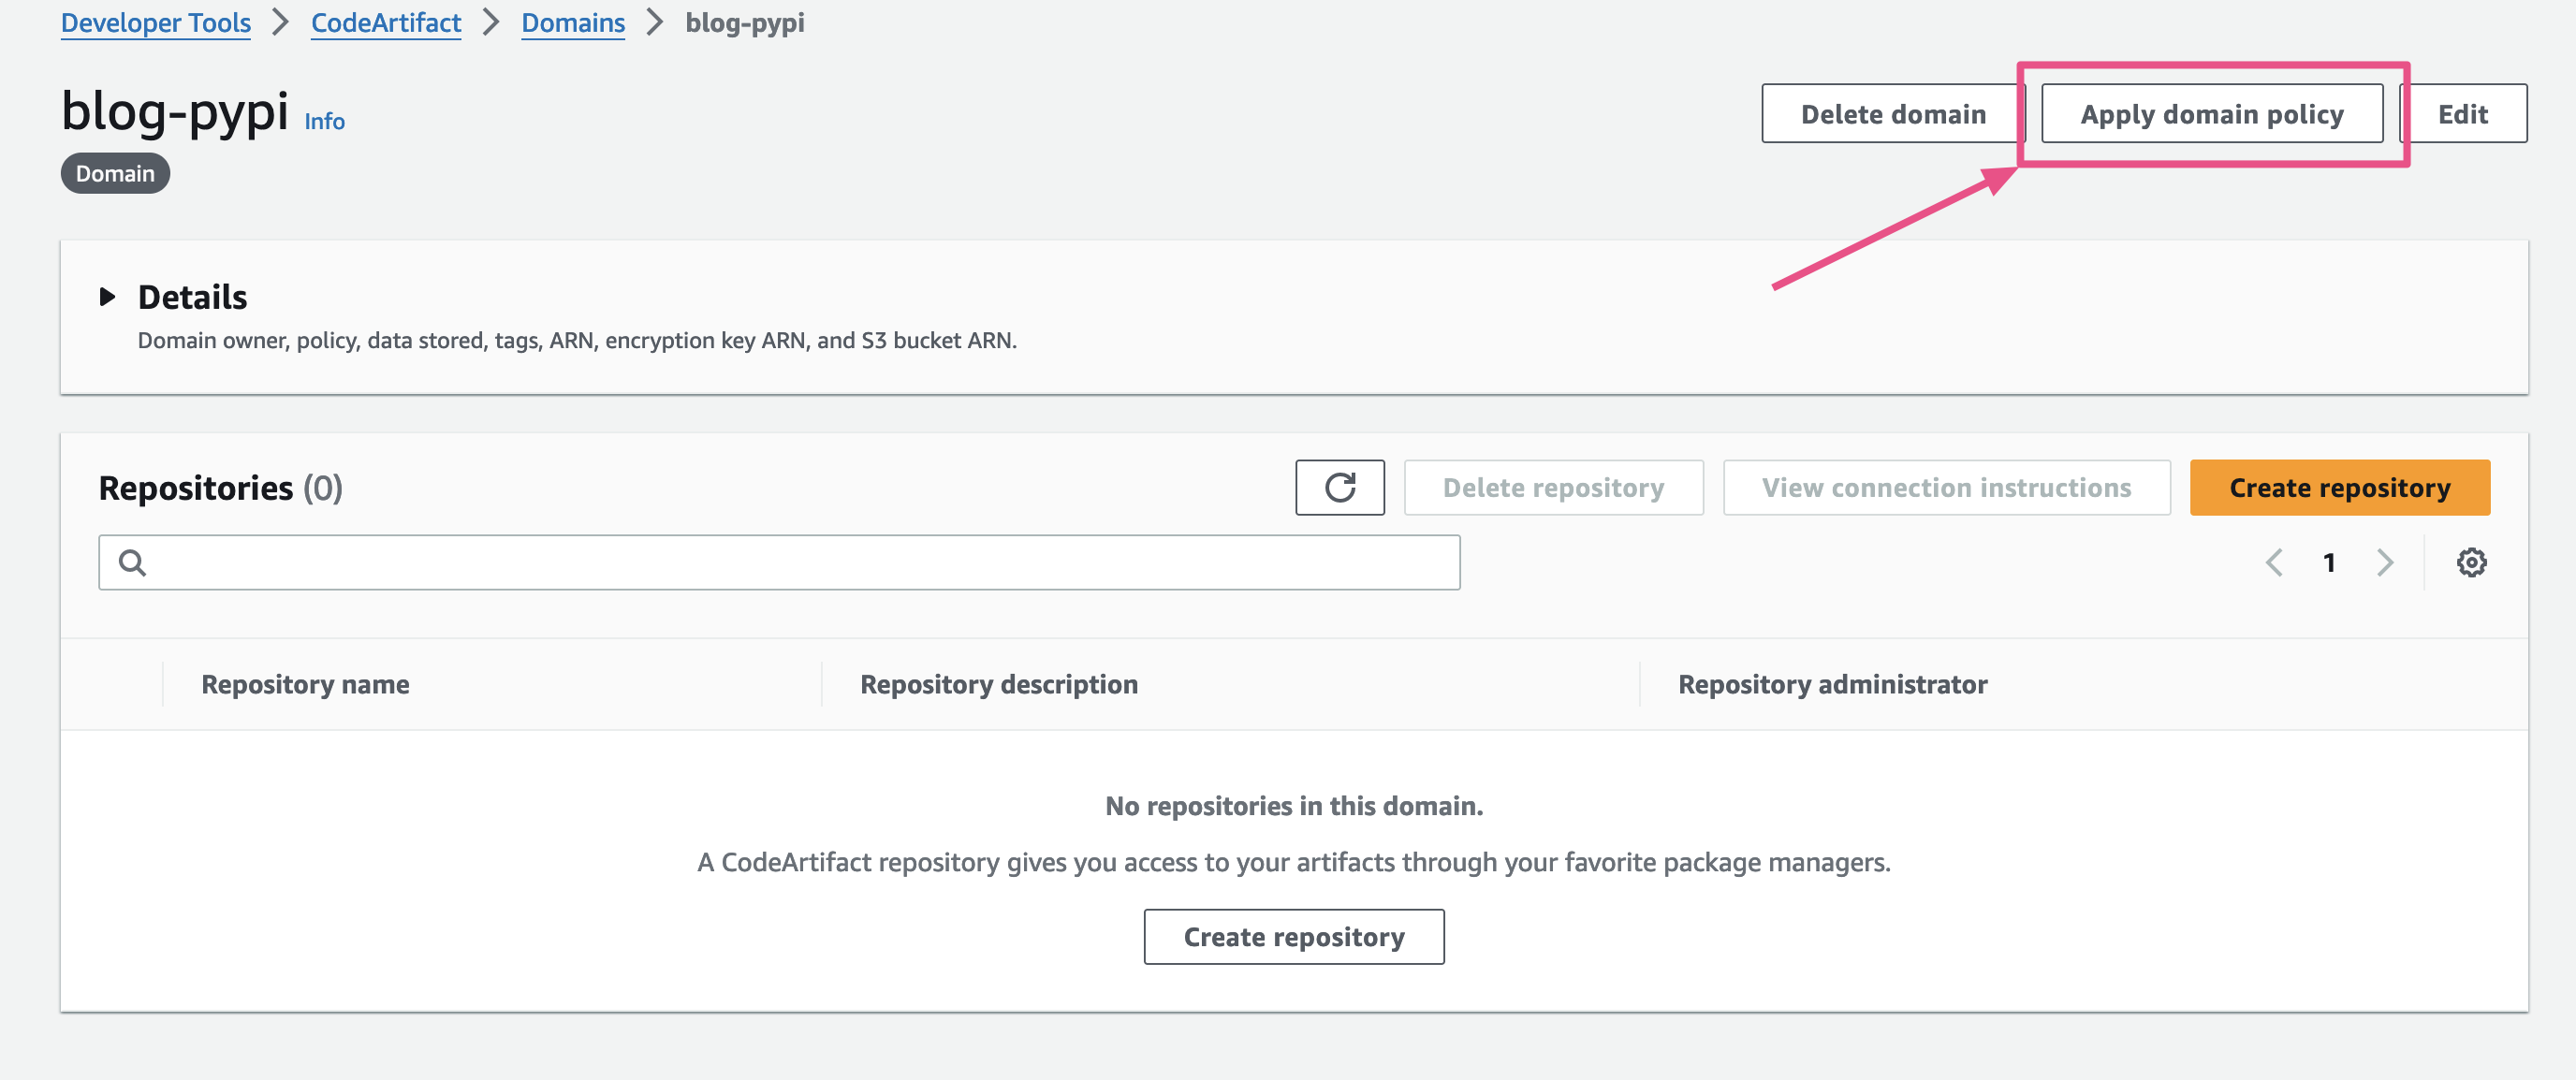
Apply Domain policy
Now that we have the domain, let's set the domain policy which allows us to get temporary authorization token for accessing repositories in the domain.
Paste the following resource-based policy and save it.
Here we are allowing a particular IAM principal, in this case a user called 'test-user' to be able to perform GetAuthorizationToken action against the resource.
Any valid IAM Principal is allowed here.
 {
     "Version": "2012-10-17",
     "Statement": [
         {
             "Effect": "Allow",
             "Principal": {
                 "AWS": [
                     "arn:aws:iam::xyz:user/test-user"
                 ]
             },
             "Action": "codeartifact:GetAuthorizationToken",
             "Resource": "*"
         }
     ]
 }
Note: AWS Code Artifact requires both resource-based policy and identity-based policy to work.
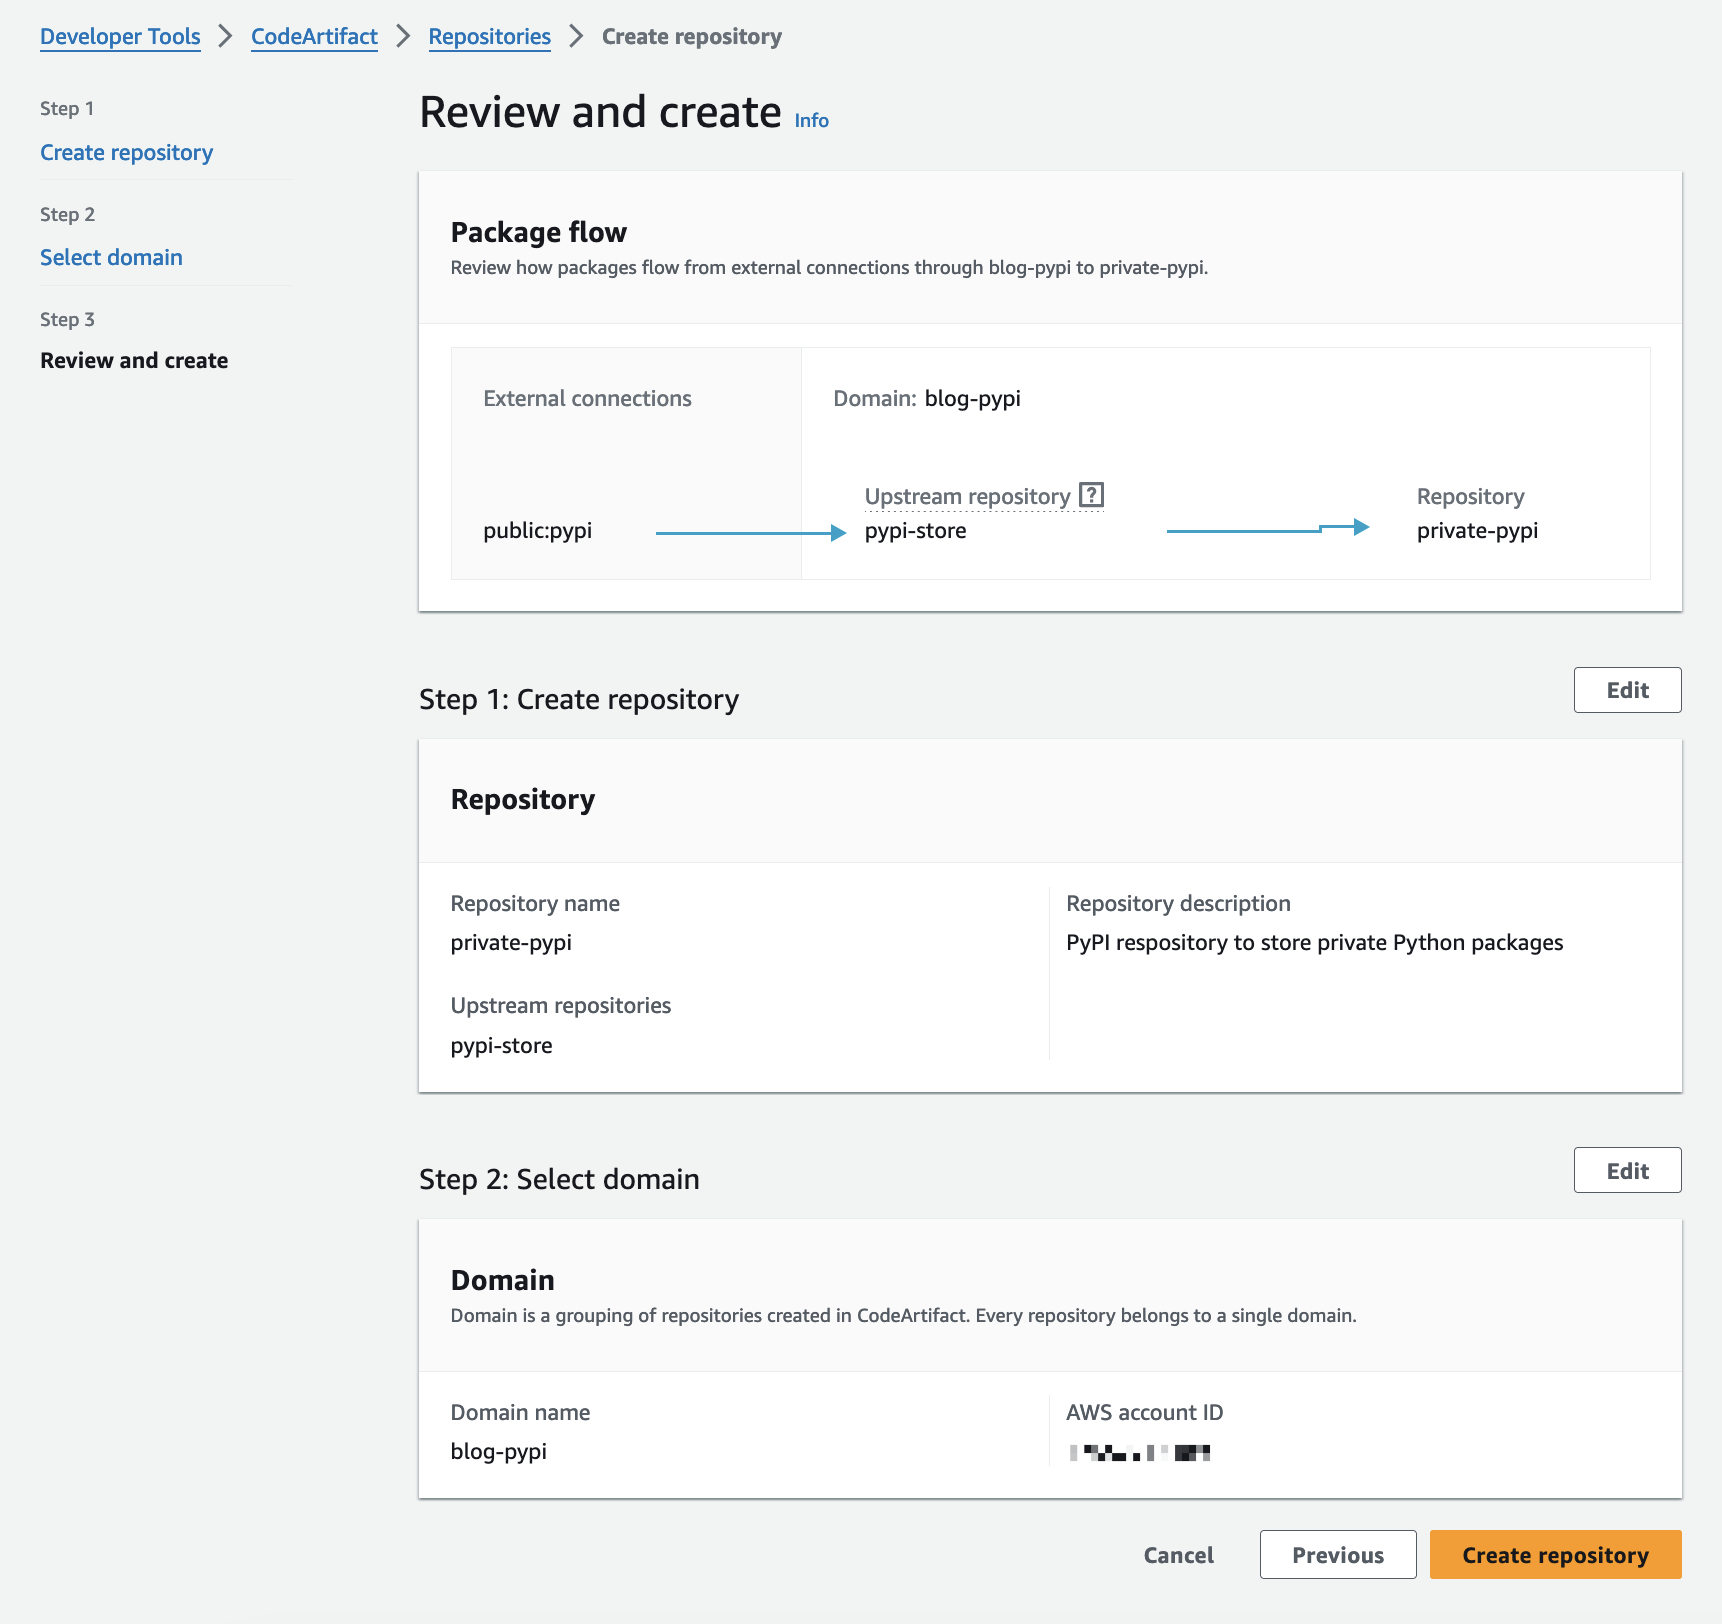
You can host multiple repositories under a single domain. We'll just create one for PyPI. Each repository is an independent entity and comes with its own configurations, and resource-based policies.
Click on create repository
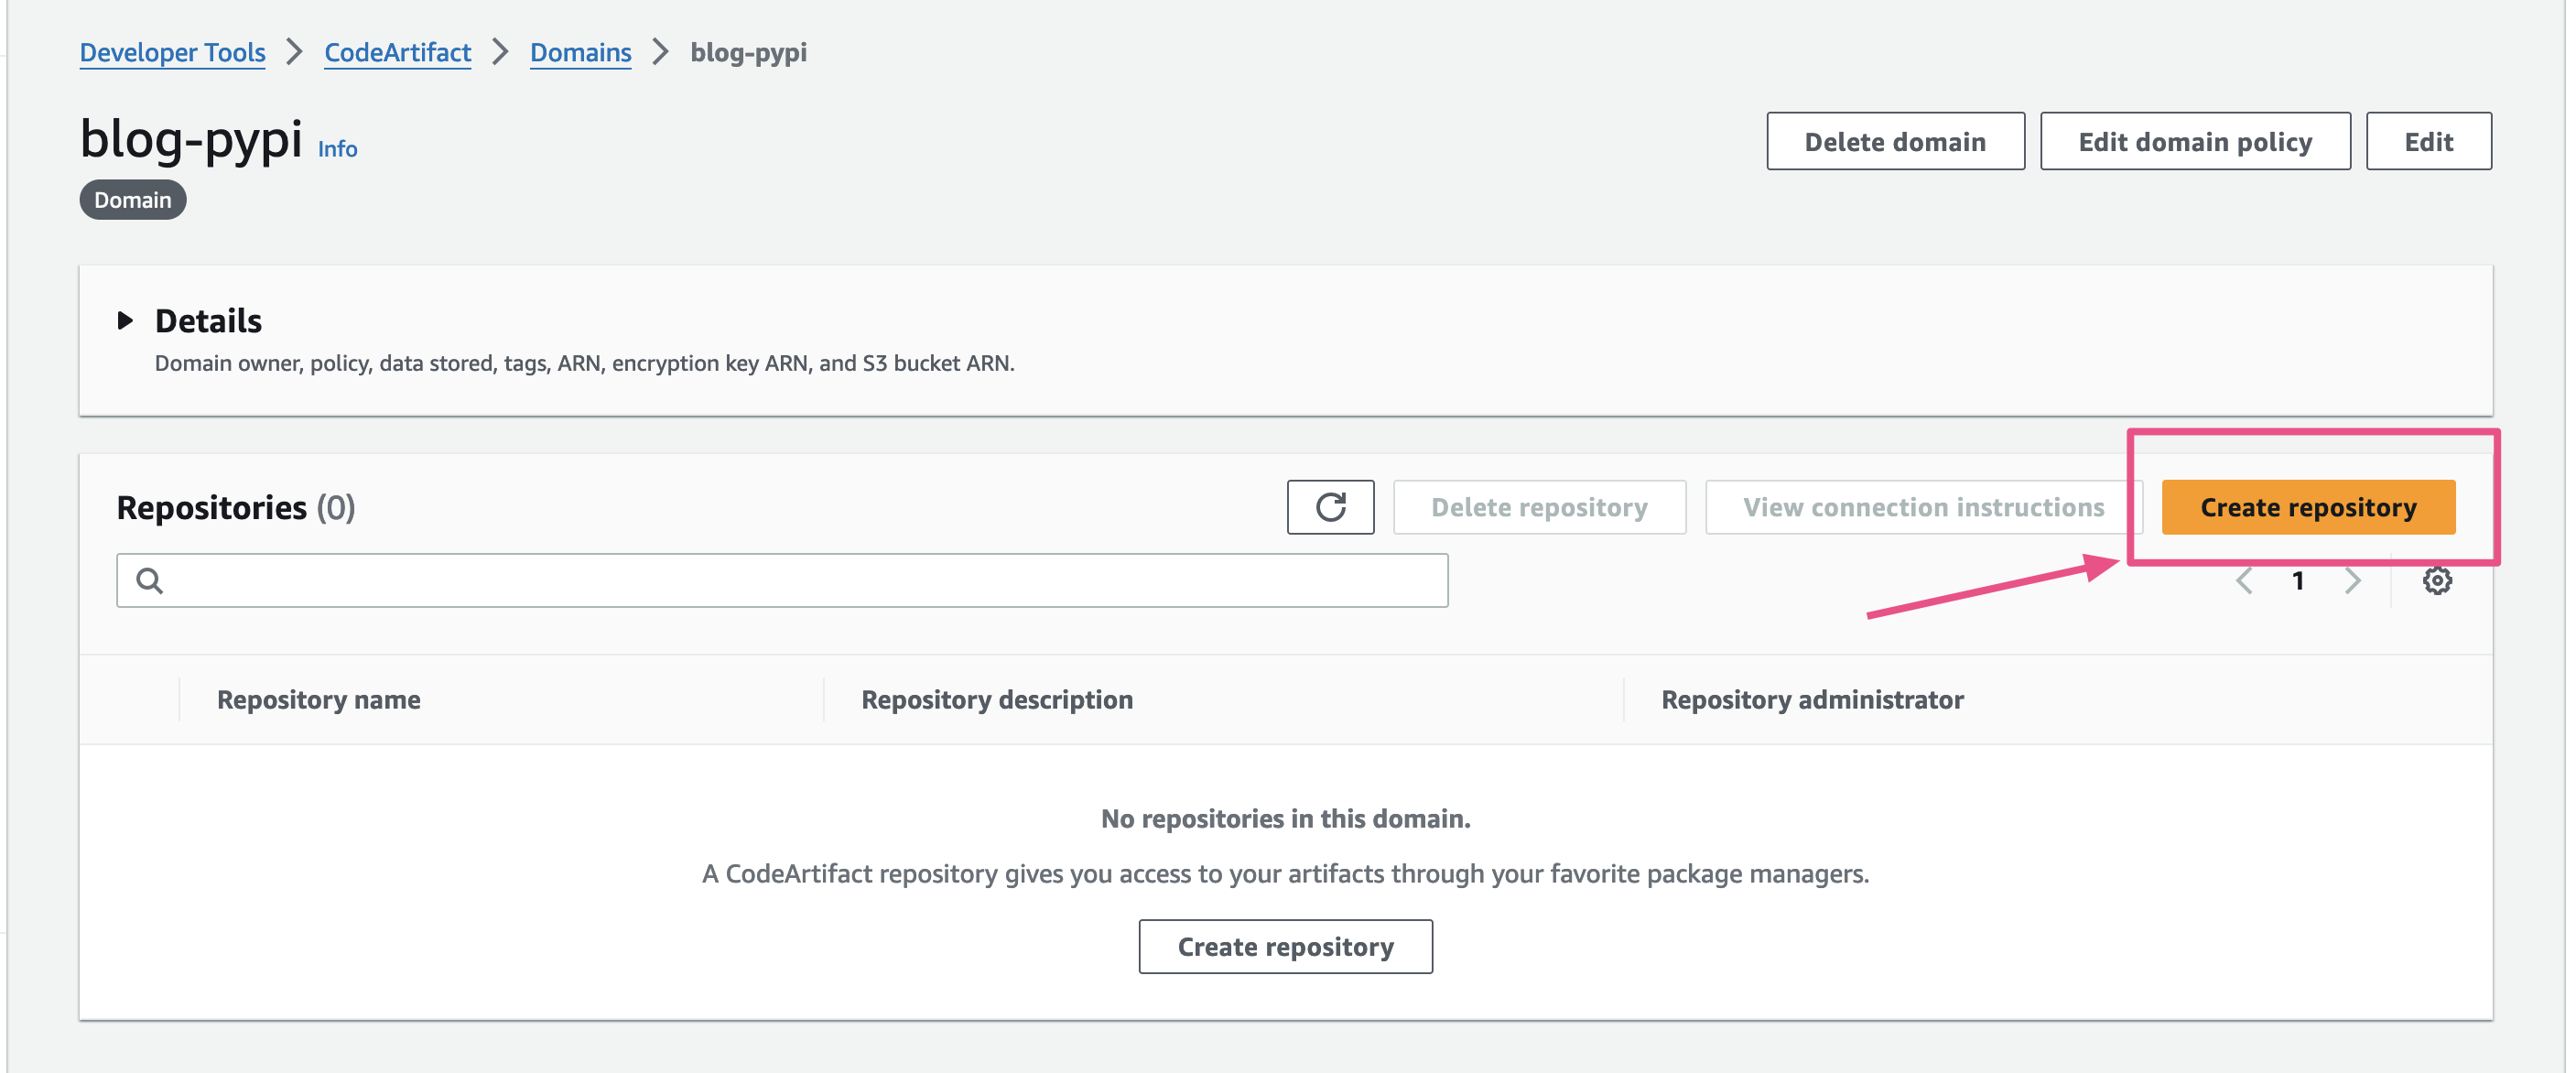
Name your repository, add description to identify its usage properly.
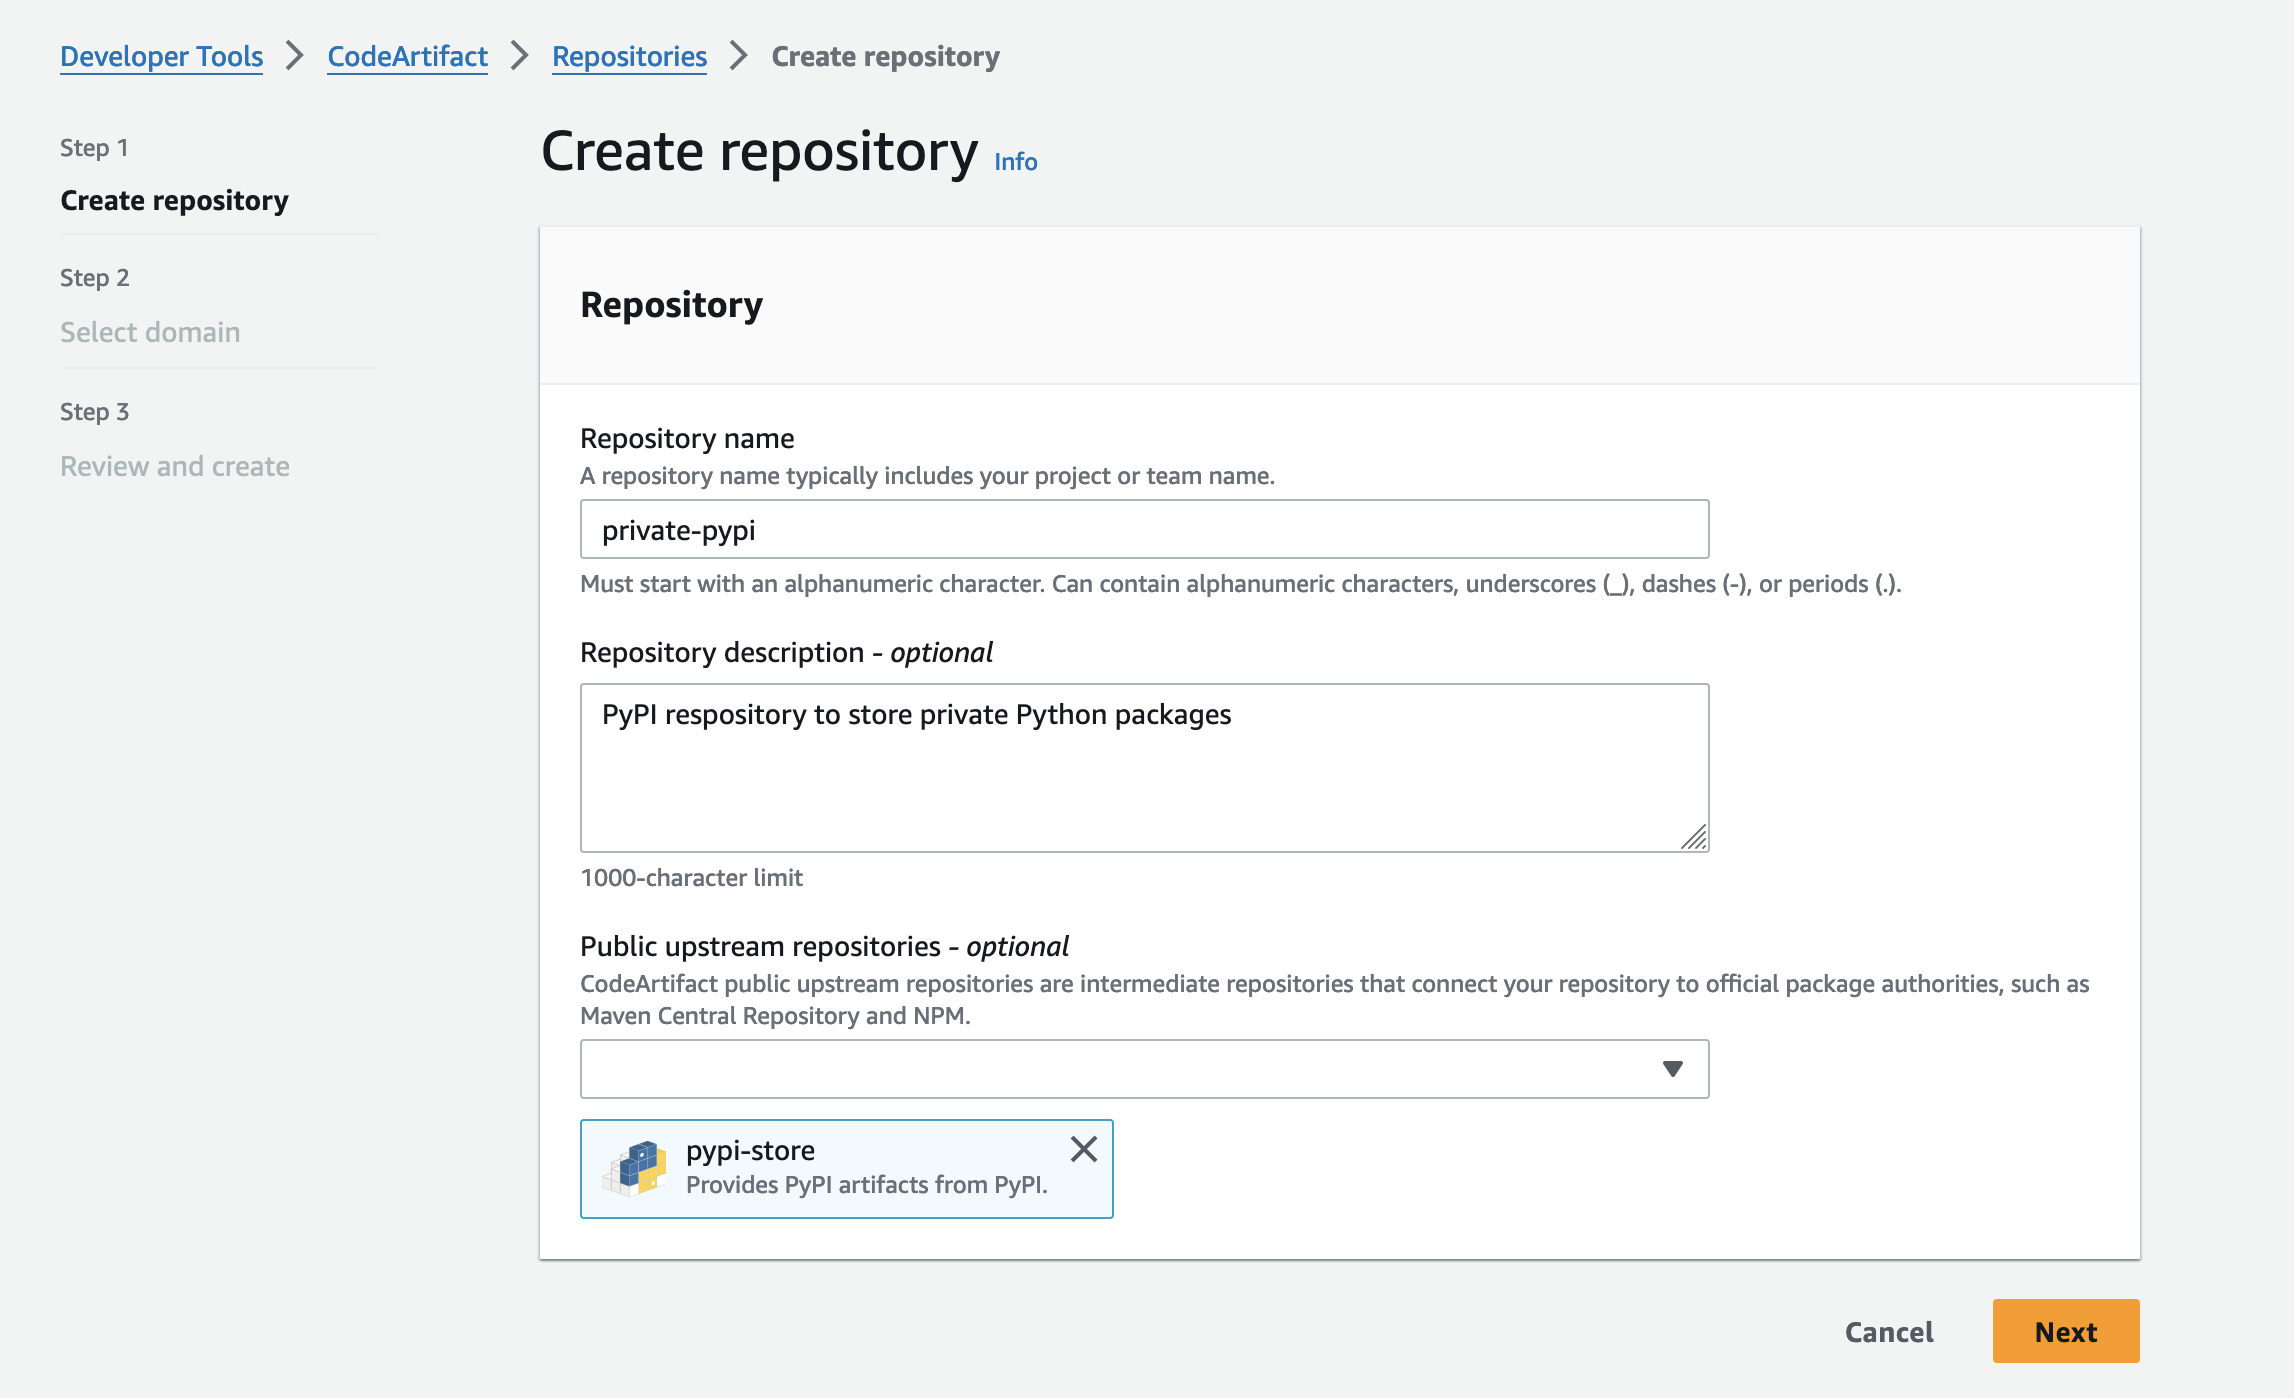
Setting Public upstream repositories
When you authorize pip or related tools to fetch packages from private repository, if the requested package is not in the private repo it will fetch from the selected public repository. The requested package will then be stored on the private repository as well.
We can select PyPI repository as upstream or leave it as blank if we intend to keep just the private packages. For me, I set the upstream as public PyPI as most of the private packages depend on other third-party packages which needs to be pulled while installing them.
Select Create Repository and we are done.
Similar to domain policy we need to set repository-level policy as well.
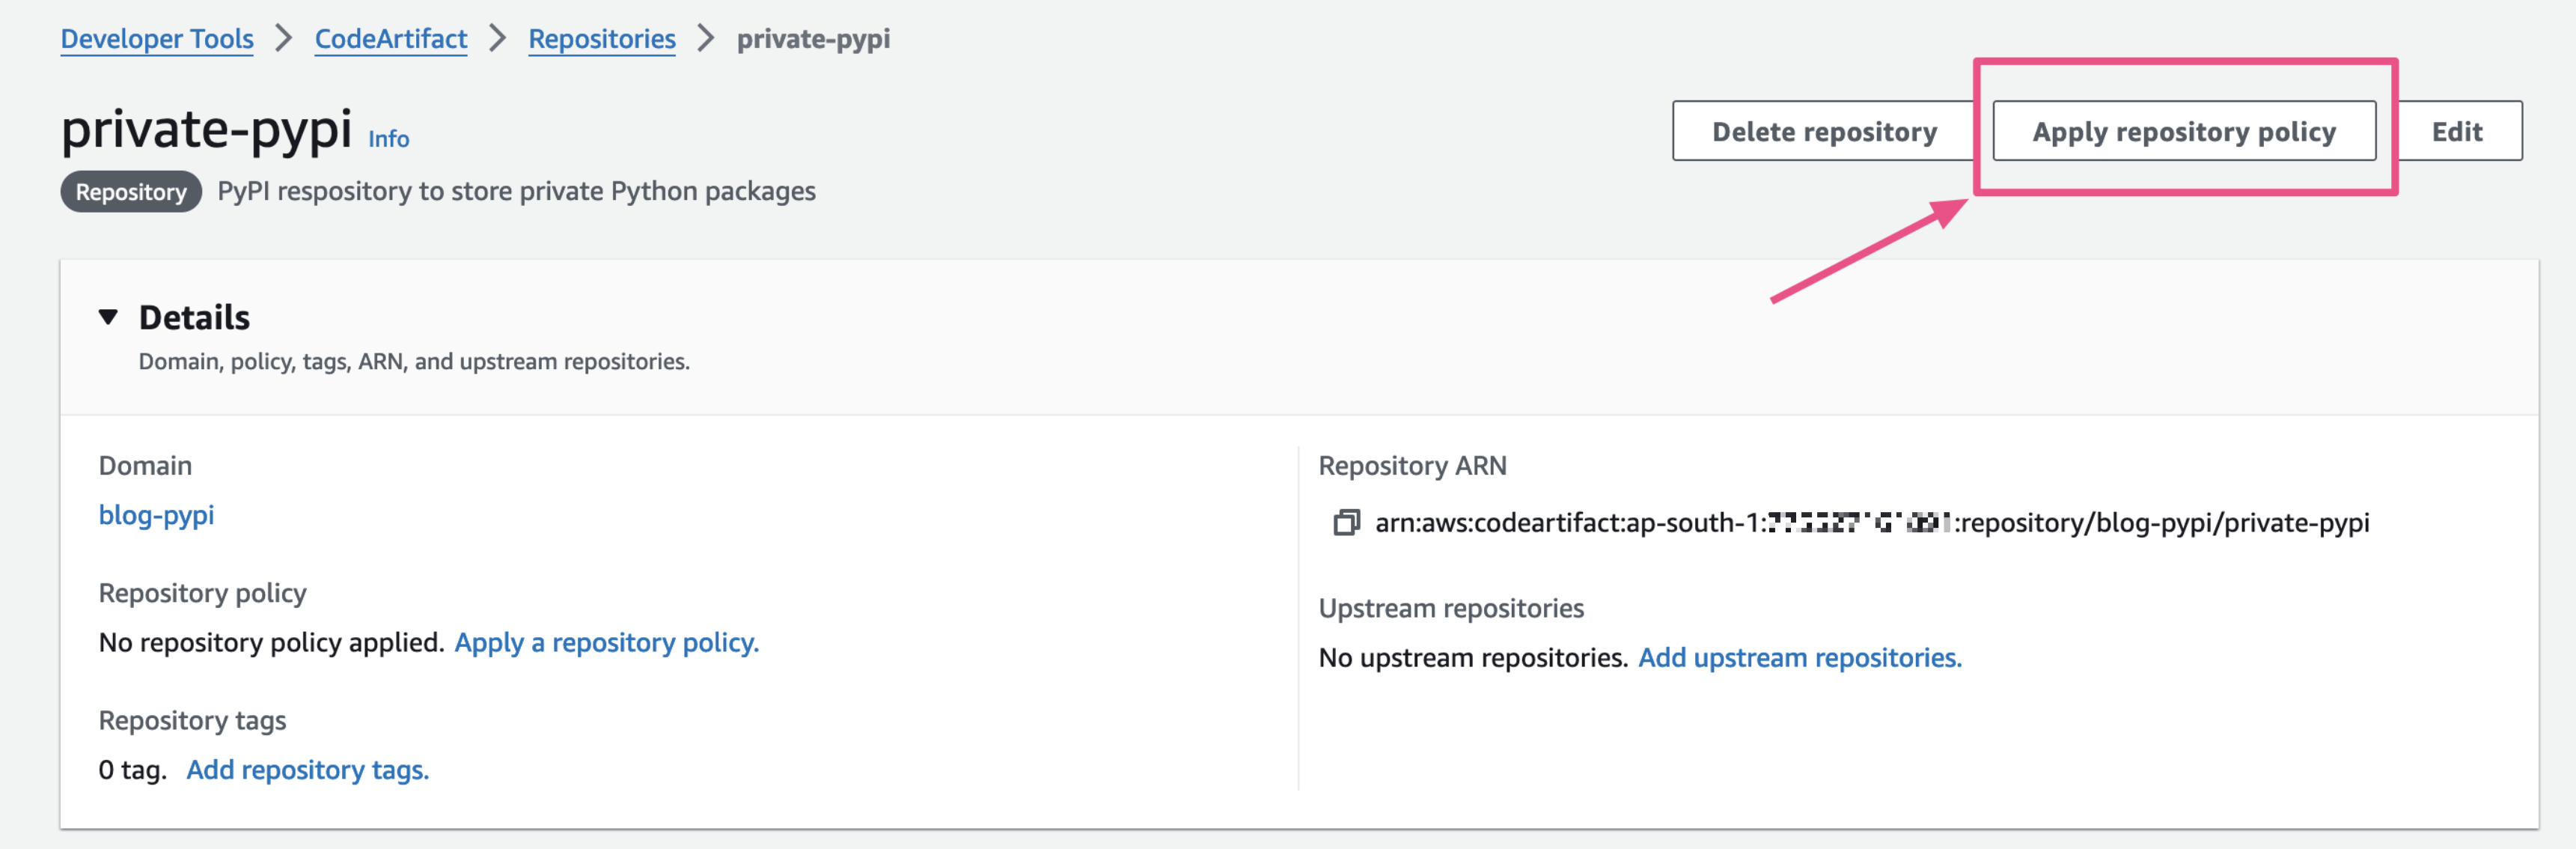
Apply the following Policy.
Policy has two statements, "PublishPackages" for publishing packages, here the principal will likely be an IAM Role, the pipeline assumes this role and uploads the built package to the private repository. For this demo, we are providing access to an IAM user.
The "InstallPackages" statement is a read-only policy which allows the IAM Principal to read and install packages from the private repository.
IAM principals that create the package will most likely be different from the ones that consume it, so it makes sense to have them separate. This is also a good approach in-terms of security.
 {
     "Version": "2012-10-17",
     "Statement": [
         {
             "Sid": "PublishPackages",
             "Effect": "Allow",
             "Principal": {
                 "AWS": "arn:aws:iam::xyz:user/test-user"
             },
             "Action": "codeartifact:PublishPackageVersion",
             "Resource": "*"
         },
         {
             "Sid": "InstallPackages",
             "Effect": "Allow",
             "Principal": {
                 "AWS": [
                     "arn:aws:iam::xyz:user/test-user"
                 ]
             },
             "Action": [
                 "codeartifact:DescribePackageVersion",
                 "codeartifact:DescribeRepository",
                 "codeartifact:GetPackageVersionReadme",
                 "codeartifact:GetRepositoryEndpoint",
                 "codeartifact:ListPackageVersionAssets",
                 "codeartifact:ListPackageVersionDependencies",
                 "codeartifact:ListPackageVersions",
                 "codeartifact:ListPackages",
                 "codeartifact:ReadFromRepository",
                 "codeartifact:GetRepositoryEndpoint"
             ],
             "Resource": "*"
         }
     ]
 }
I will be pushing my CLI-tool called timezones-cli for this demo. You can use any Python package of your choice.
🌟Note: Make sure you have AWS CLI v2 installed on your machine.
Before we can push anything, we need to configure the policy for our user to be able to authorize to the Code Artifact domain and get the packages.
Set the following policy for the IAM user:
{
    "Version": "2012-10-17",
    "Statement": [
        {
            "Effect": "Allow",
            "Action": "codeartifact:GetAuthorizationToken",
            "Resource": "arn:aws:codeartifact:ap-south-1:xyz:domain/blog-pypi"
        },
        {
            "Effect": "Allow",
            "Action": "sts:GetServiceBearerToken",
            "Resource": "*",
            "Condition": {
                "StringEquals": {
                    "sts:AWSServiceName": "codeartifact.amazonaws.com"
                }
            }
        },
        {
            "Effect": "Allow",
            "Action": [
                "codeartifact:DescribePackageVersion",
                "codeartifact:DescribeRepository",
                "codeartifact:GetPackageVersionReadme",
                "codeartifact:GetRepositoryEndpoint",
                "codeartifact:ListPackageVersionAssets",
                "codeartifact:ListPackageVersionDependencies",
                "codeartifact:ListPackageVersions",
                "codeartifact:ListPackages",
                "codeartifact:ReadFromRepository"
            ],
            "Resource": "arn:aws:codeartifact:ap-south-1:xyz:repository/blog-pypi/private-pypi"
        }
    ]
}
That's it for the policy, we are all set now! Let's get back to publishing the package.
AWS Code Artifact provides you a list of tools you can authorize using AWS CLI.
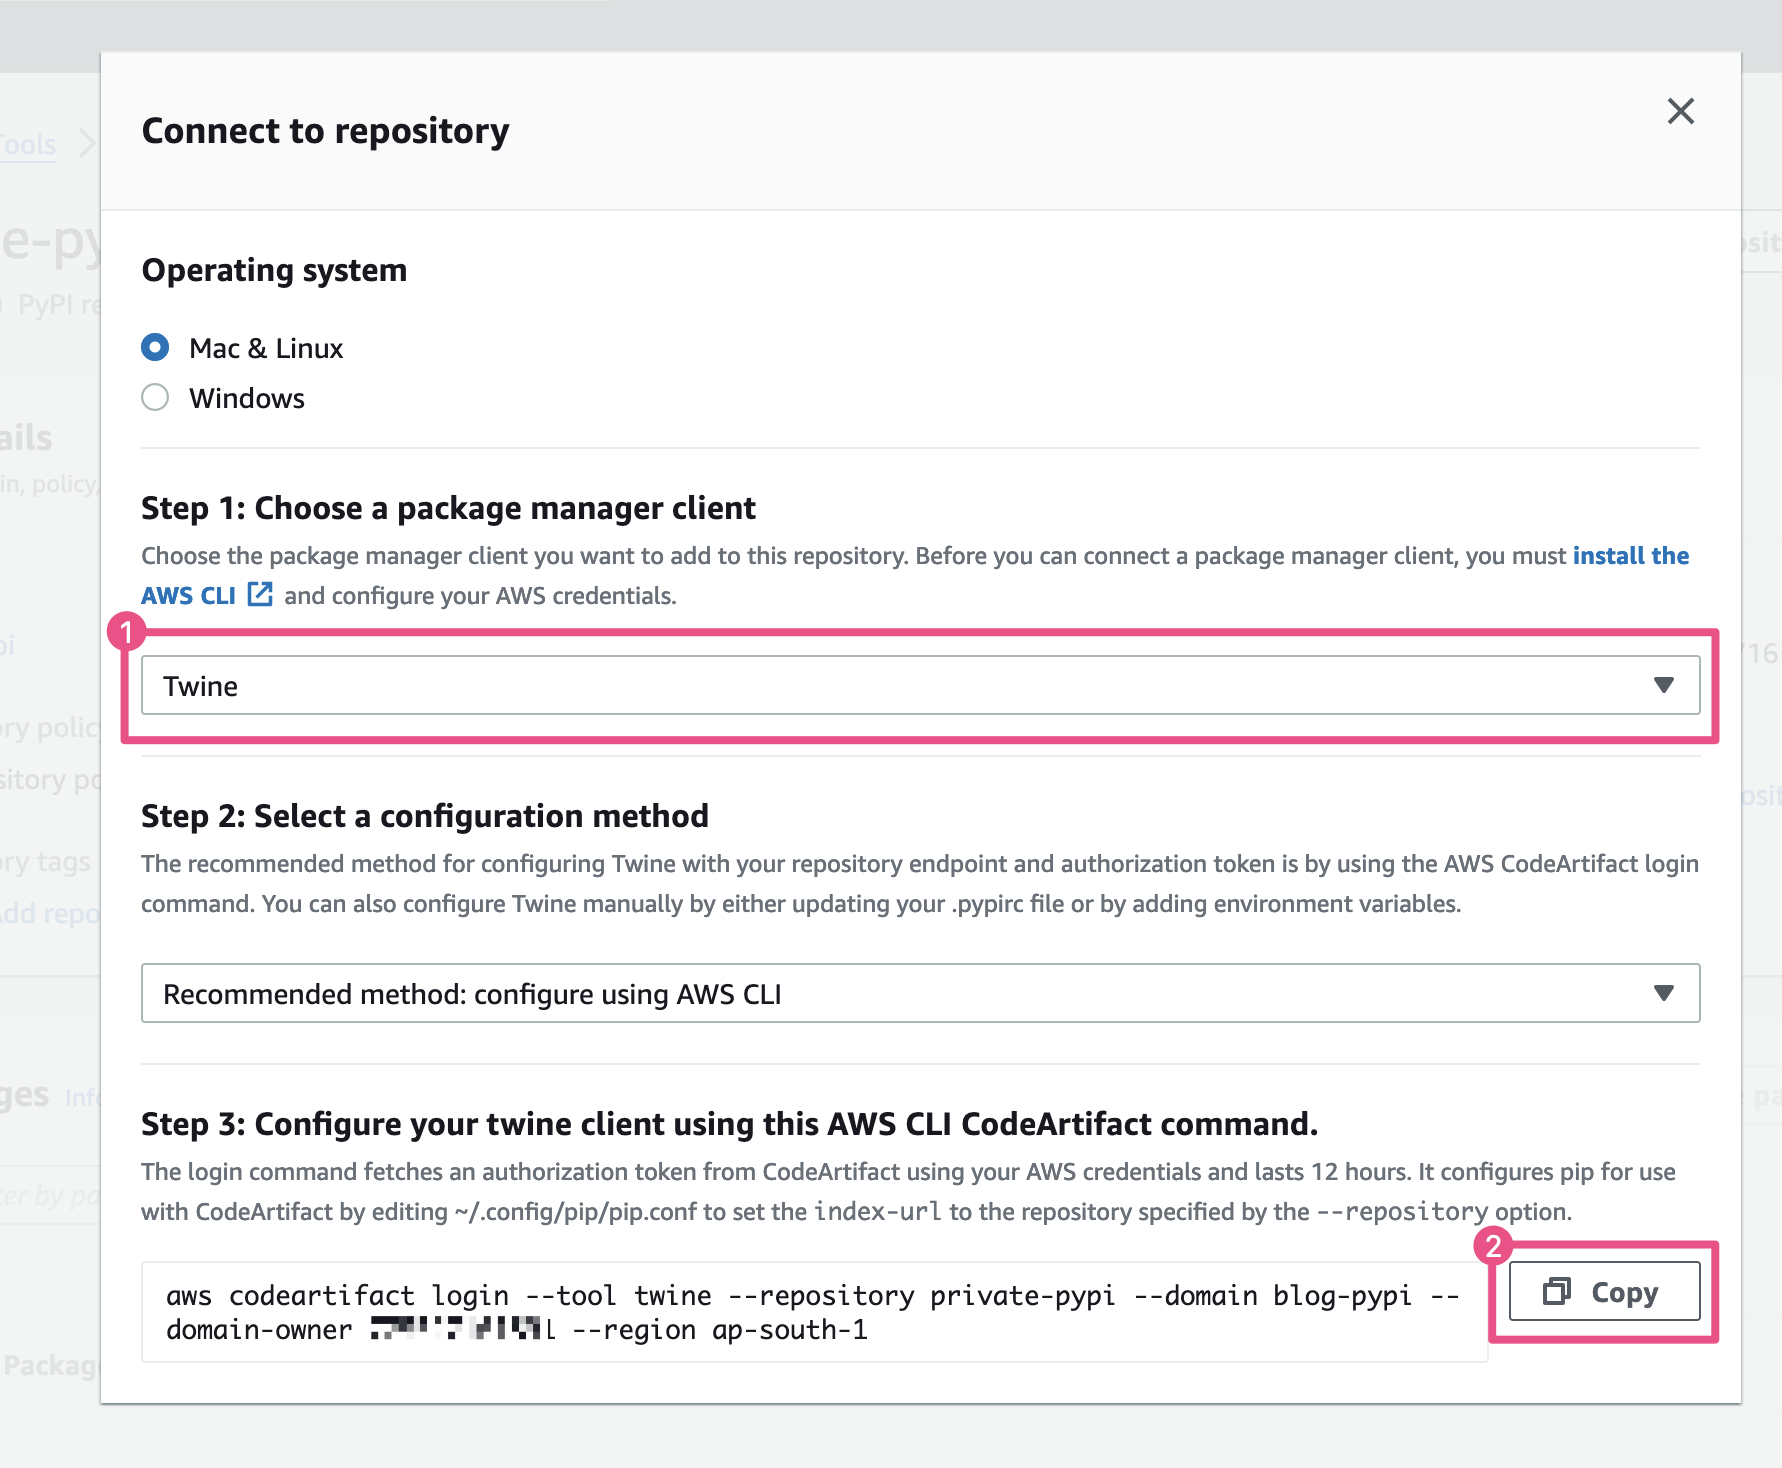
Inside of the repository, select on View connection instructions
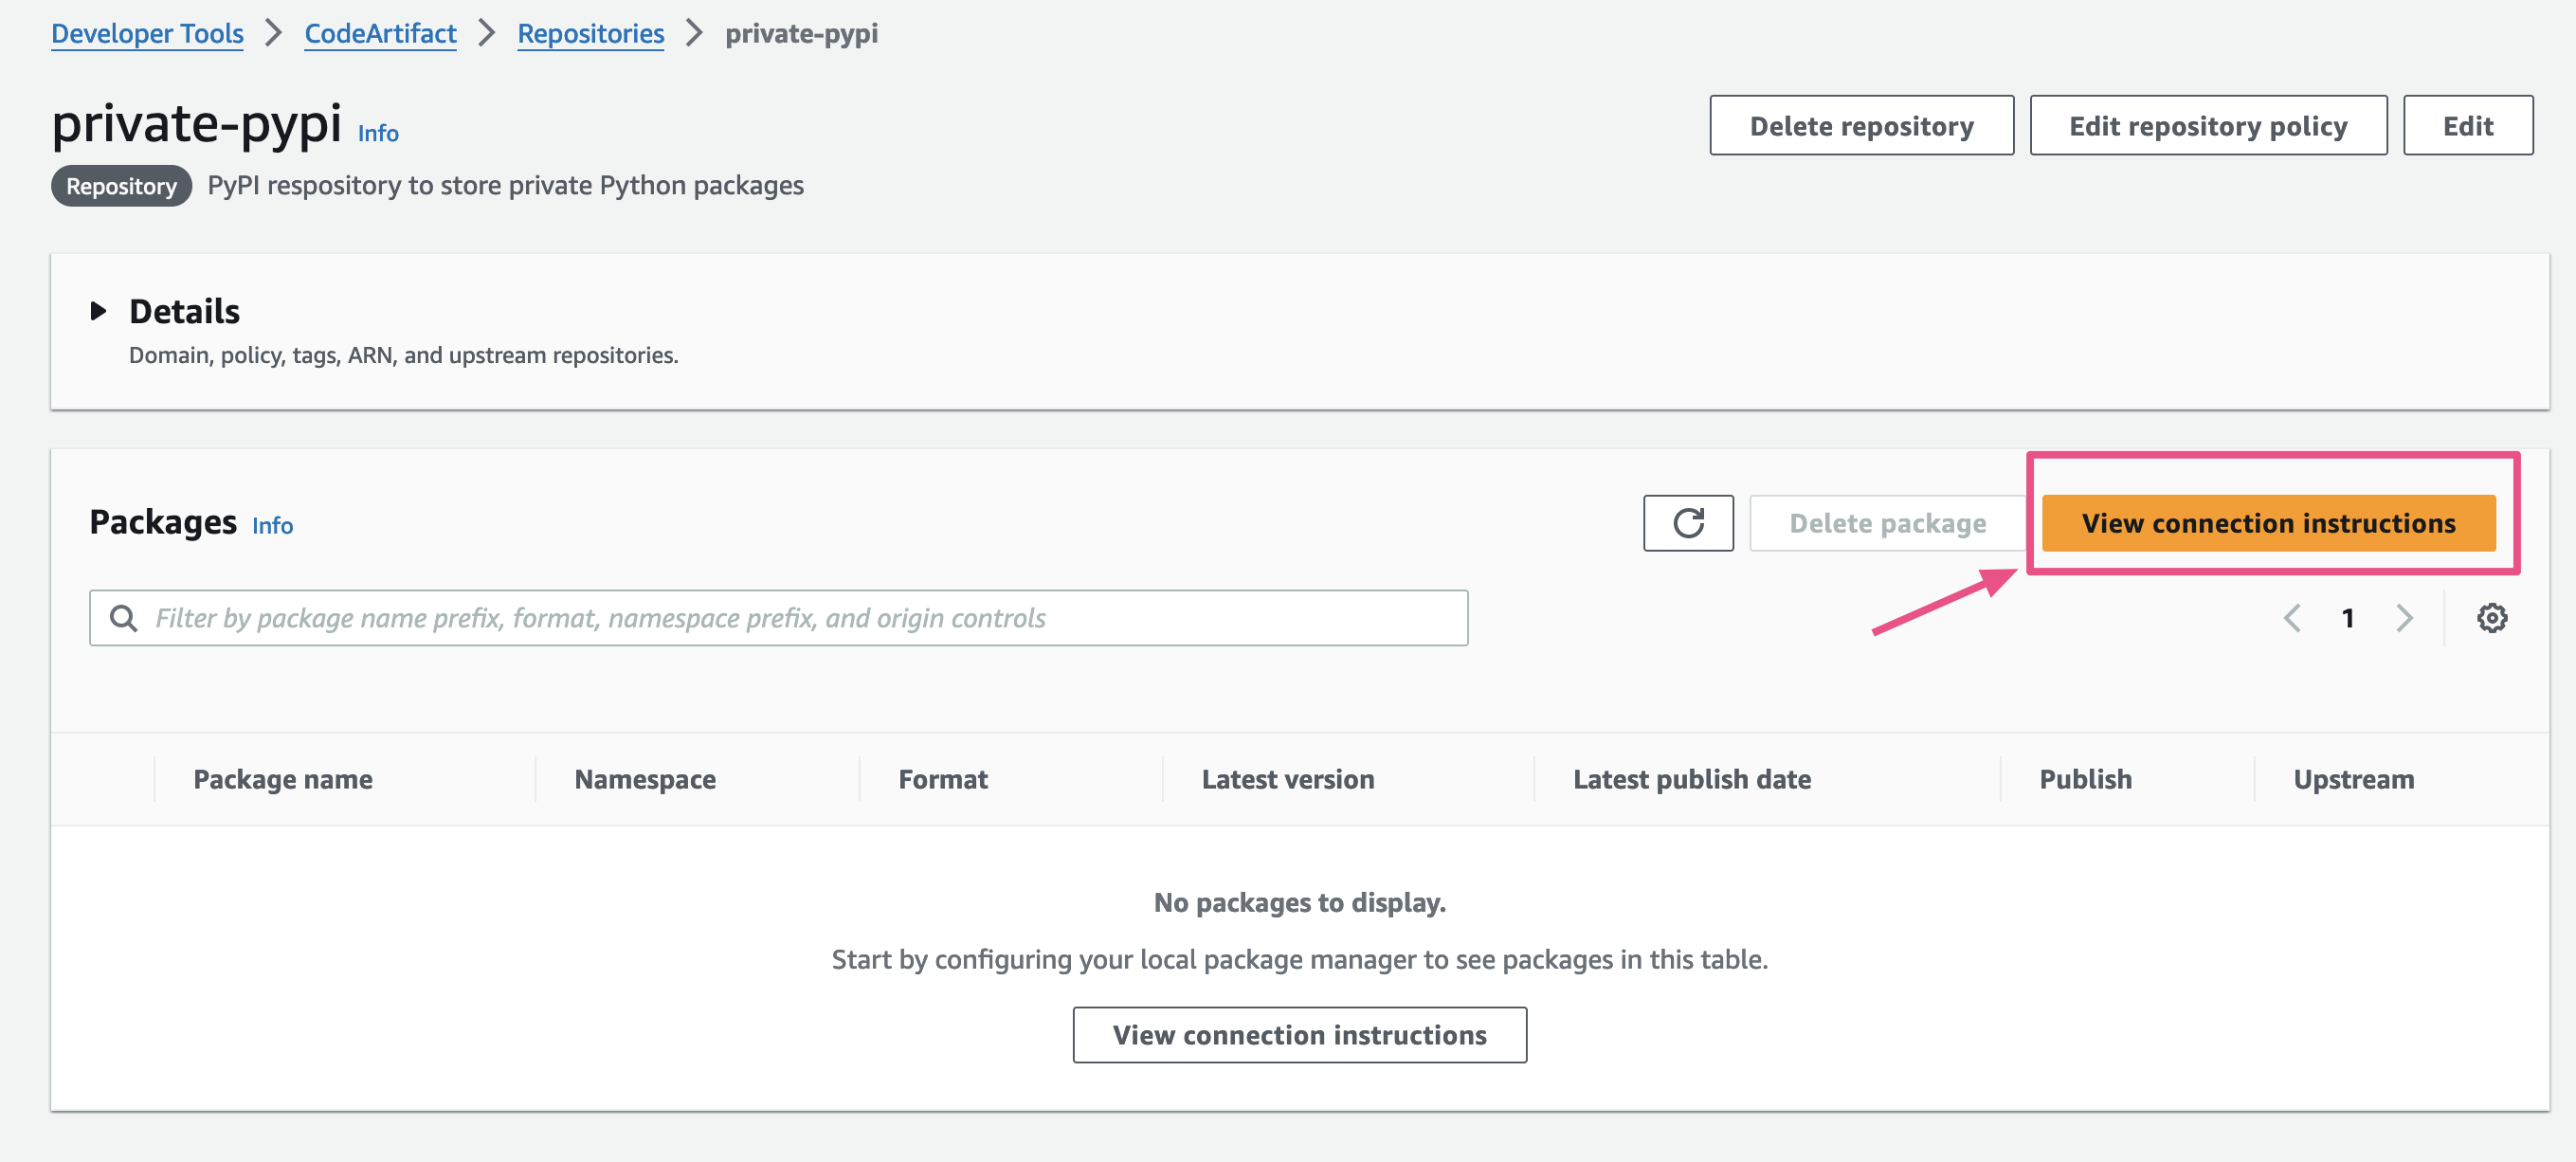
Select twine and copy the aws codeartifact CLI command.
You should have twine installed on your virtual environment or global scope.
Let's create a source distribution (.tar.gz) and a wheel distribution (.whl) for our package.
From the root of the project run the following command.
🌟 Note: If you are creating wheel distribution then make sure
wheelpackage is installed on your machine.
python setup.py bdist_wheel sdist
This command will create a dist directory which will contain our package ready to be pushed.

On your terminal, paste the command copied for Code Artifact, if you need to use any particular AWS CLI profile then use the --profile flag to pass the profile name like in the example.

After successful login, twine configurations will be in ~/.pypirc, if you want to logout then delete this file.
Let's upload our package 🎉
We need to specify the repository we are pushing to, which is done using the -r flag.
twine upload -r codeartifact dist/*
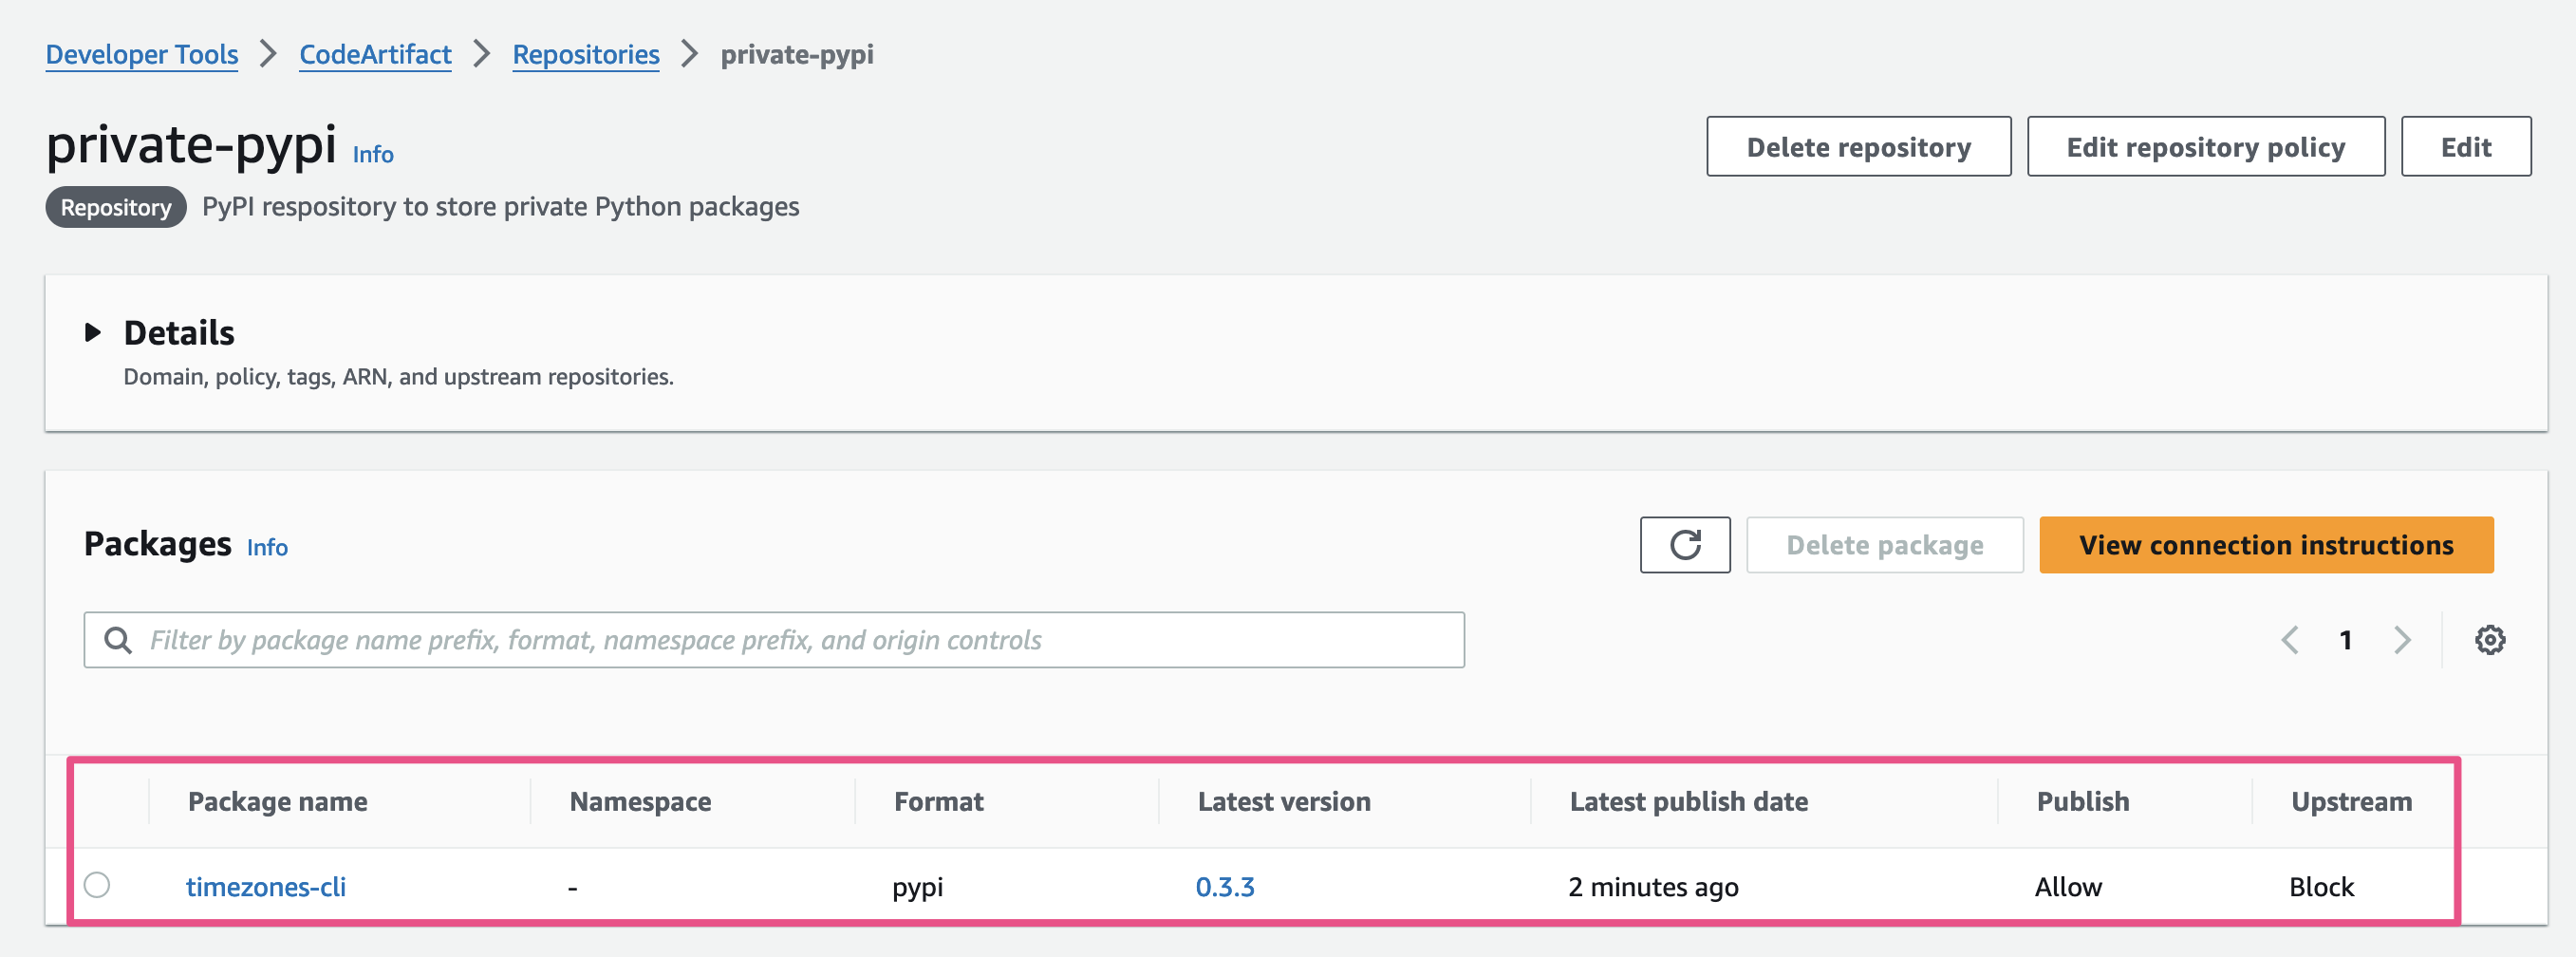
Package is uploaded successfully! 🙌

We can confirm this checking our repository.
Now that we've pushed our package, it's time to download them.
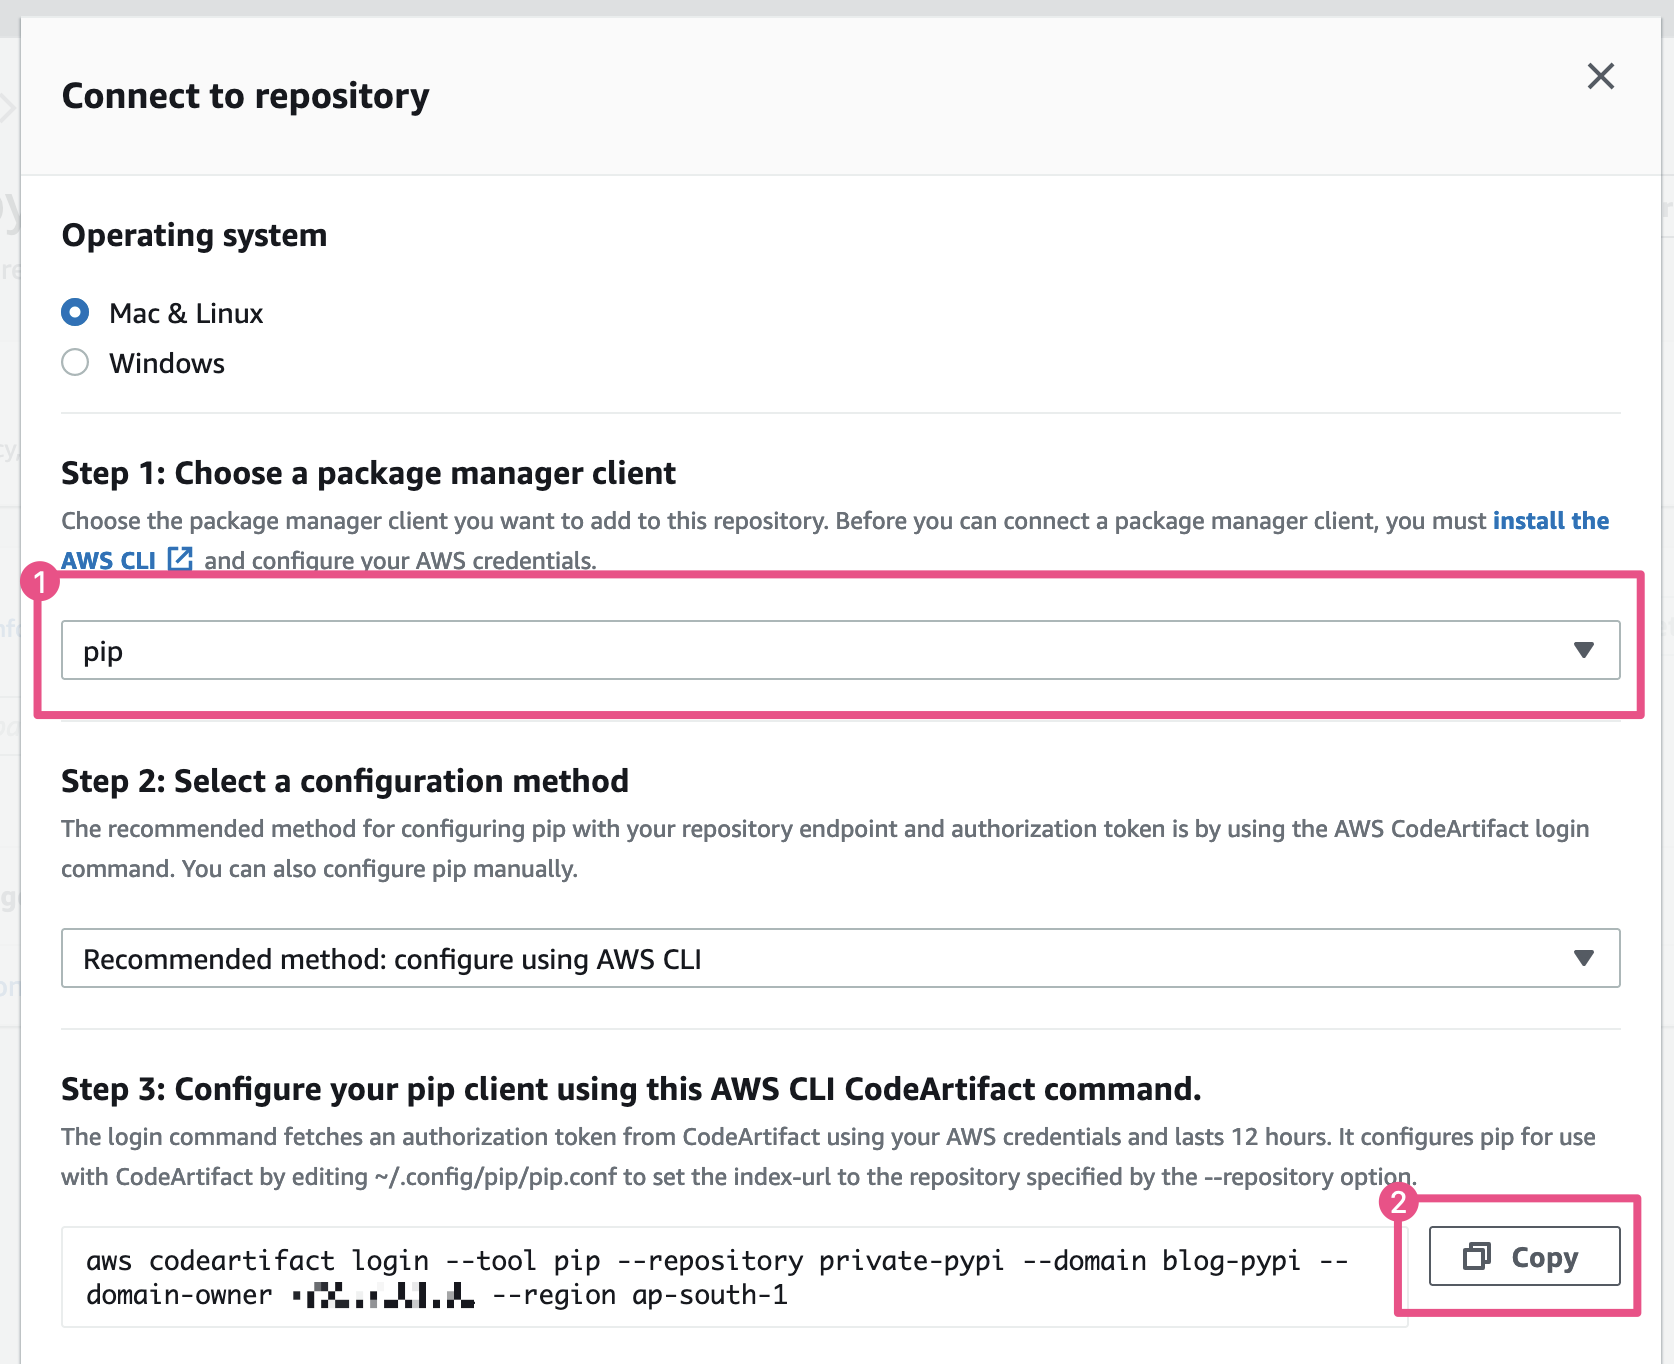
Go to the repository page and select "View connection instructions" again. This time select the pip tool and copy the login command.
We should be out of our package's virtual environment, in a completely new virtual environment, or installing the package in the global context. I will be installing it in the global context.
Paste the command for pip login, once logged in, pip generates configuration on ~/.config/pip/pip.conf. To logout, we can delete this file or run pip config unset global.index-url.

Now every pip install command we put out will try to communicate with our private repository. We can install the package with the regular pip install:
pip install timezones-cli

We have successfully uploaded and downloaded package from our private PyPI repository hosted on AWS Code Artifact. ⚡️
Using AWS Code Artifact is one of many ways of installing private python packages. If you or your company is already invested in AWS then it makes perfect sense to use AWS Code Artifact. If not then you can evaluate the pros and cons for using this solution. But all AWS Code Artifact provides a complete and secure solution to get you up and running with your private package infrastructure in no time.